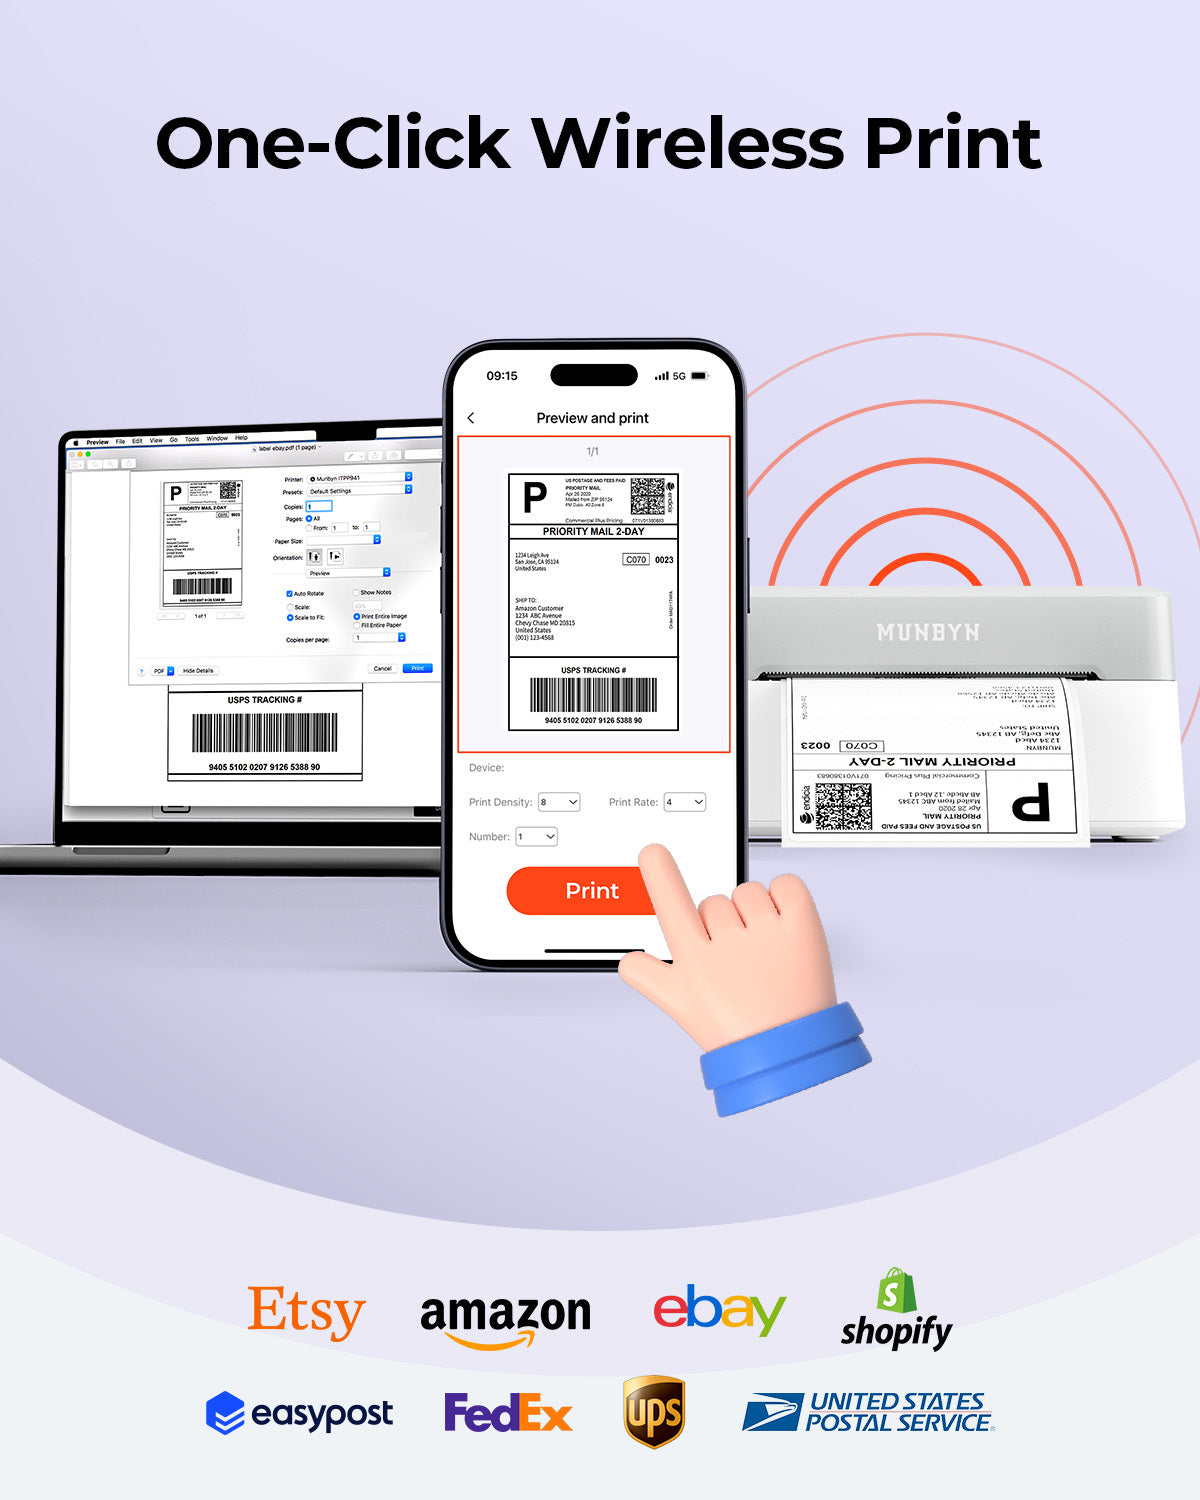
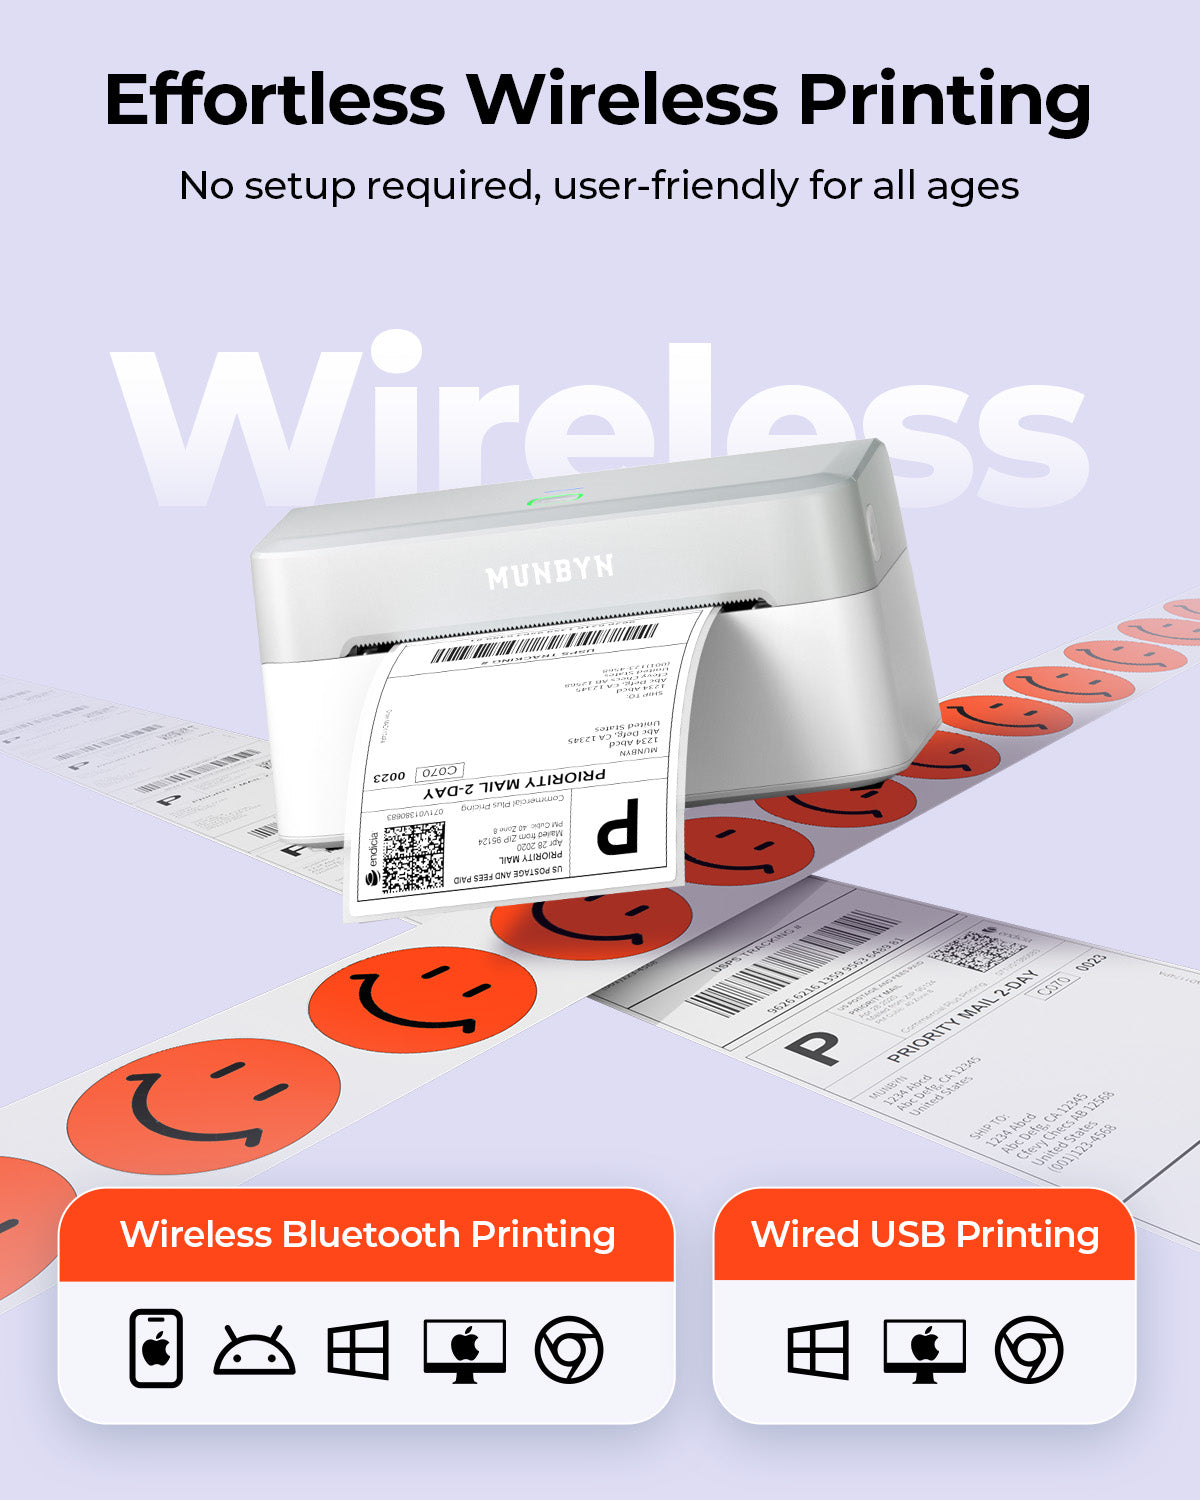
[Effortless & Instant Setup]
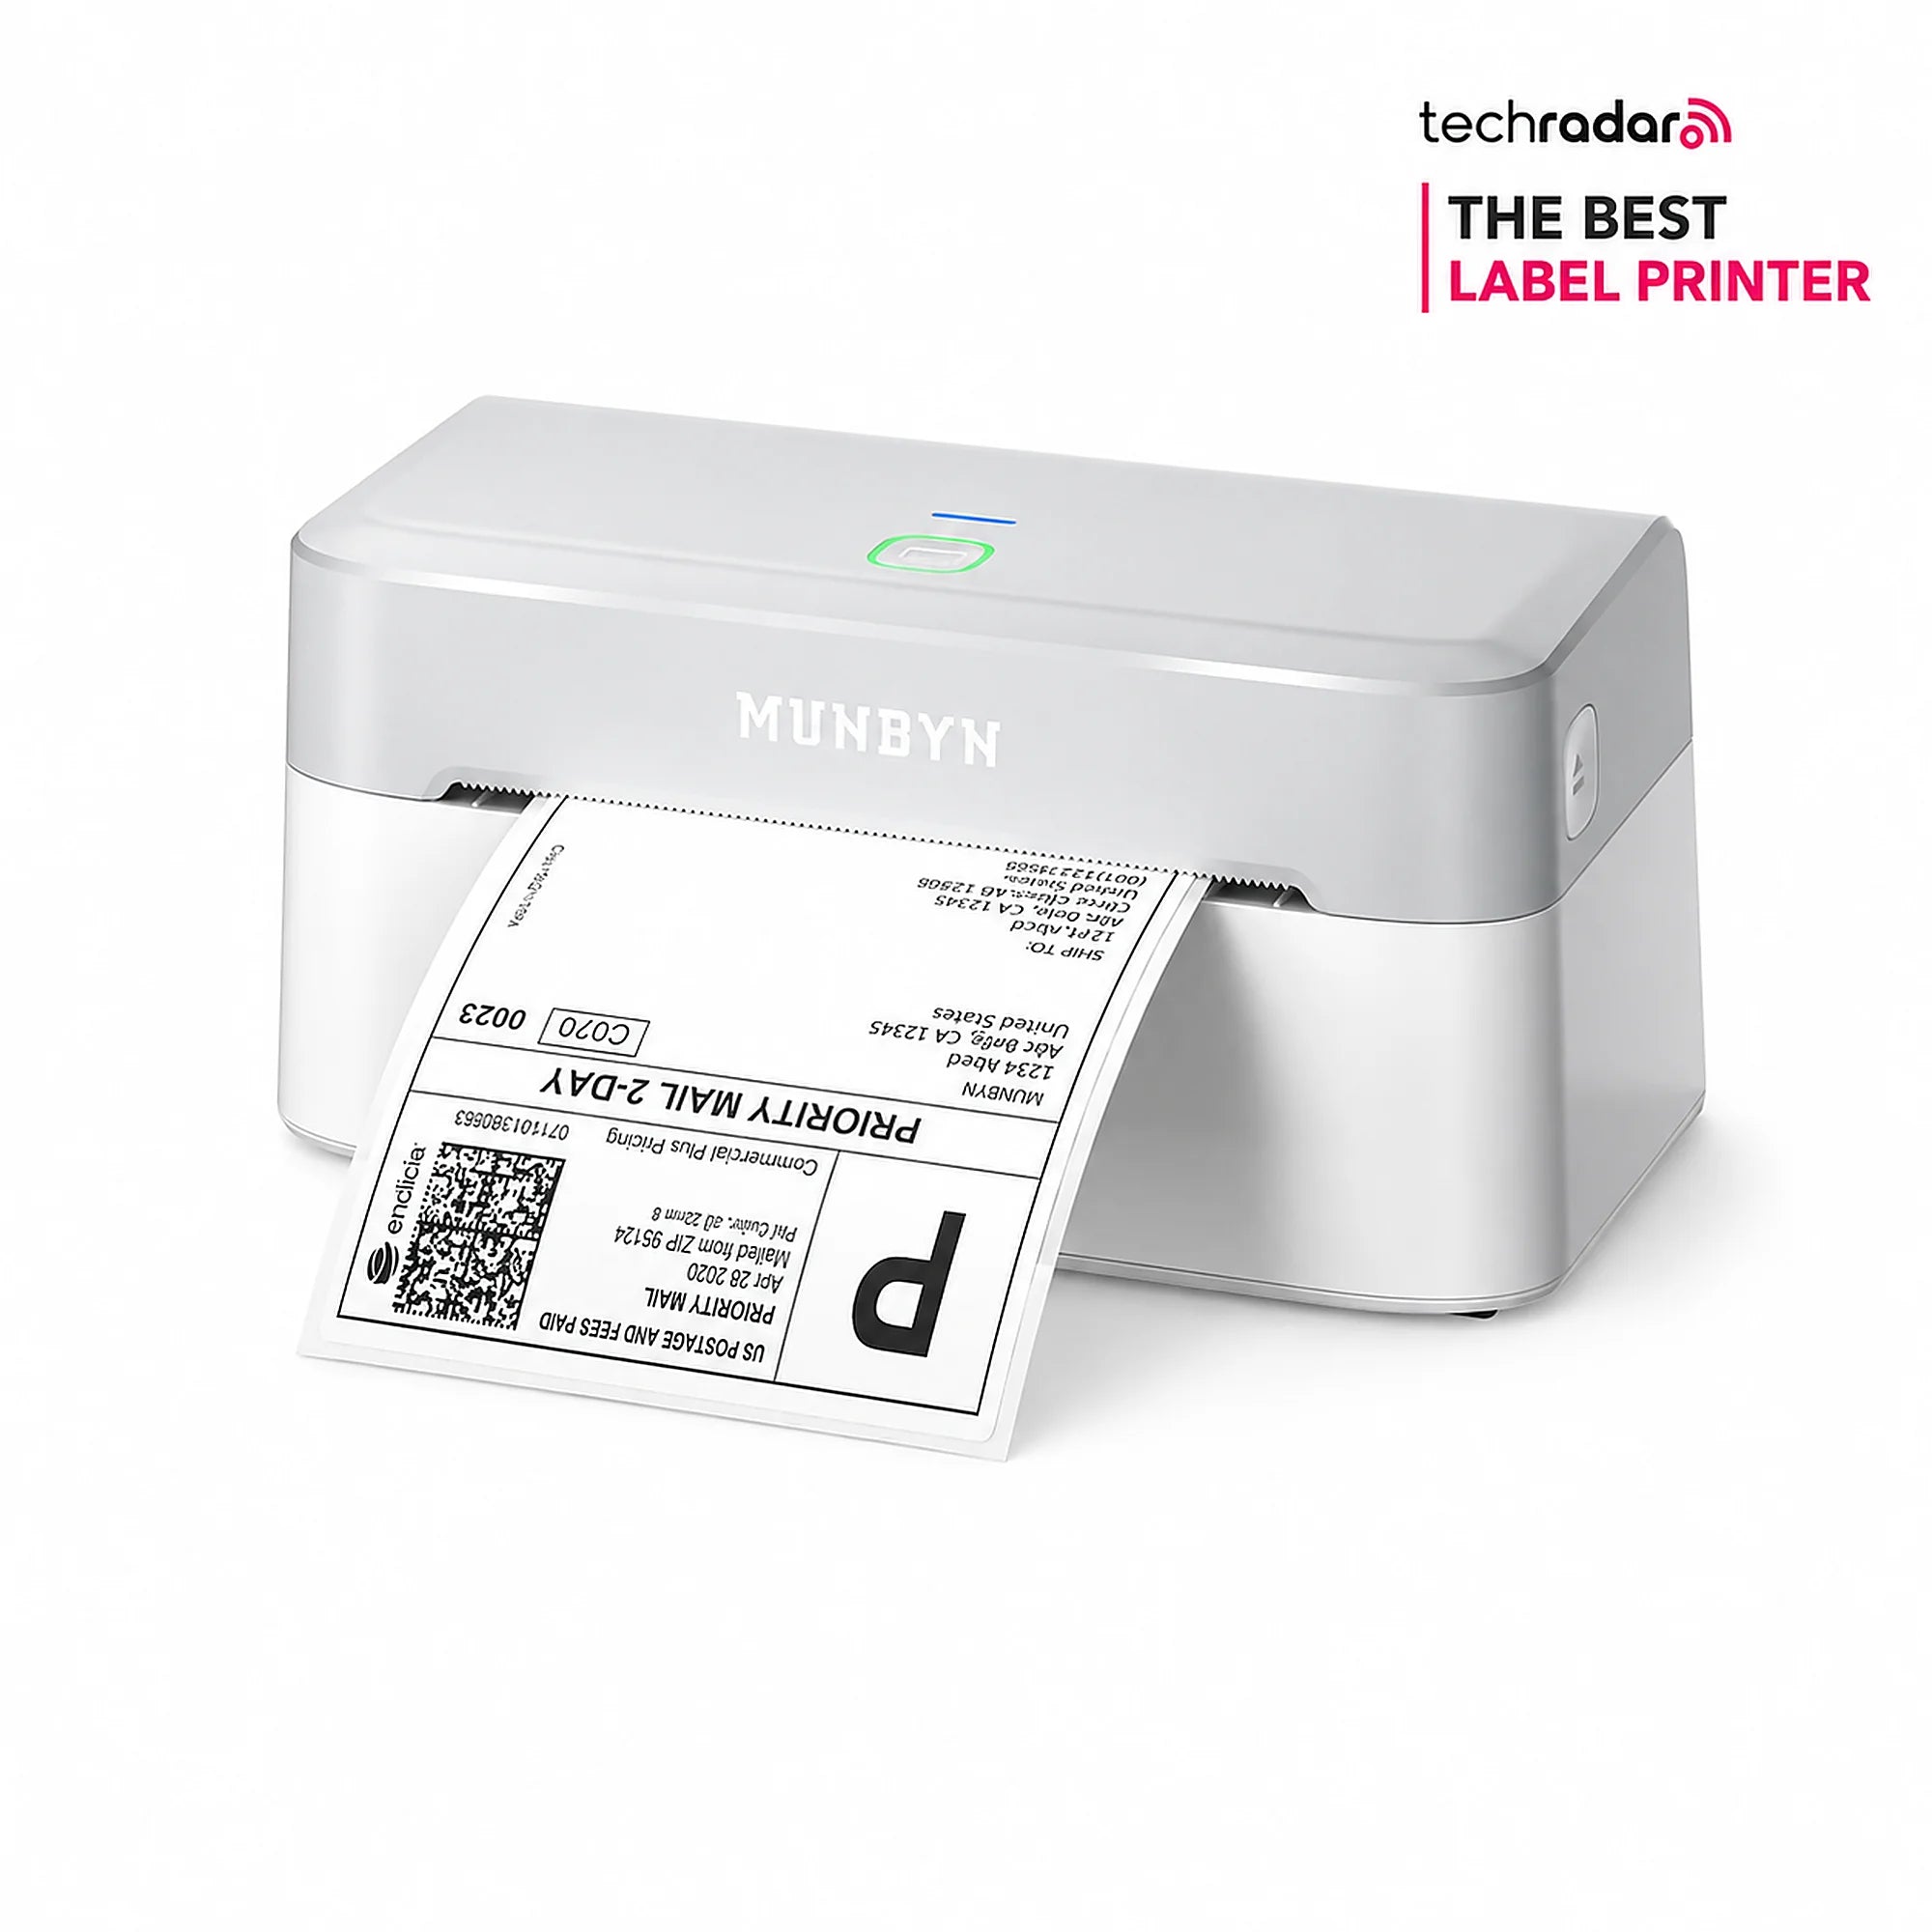
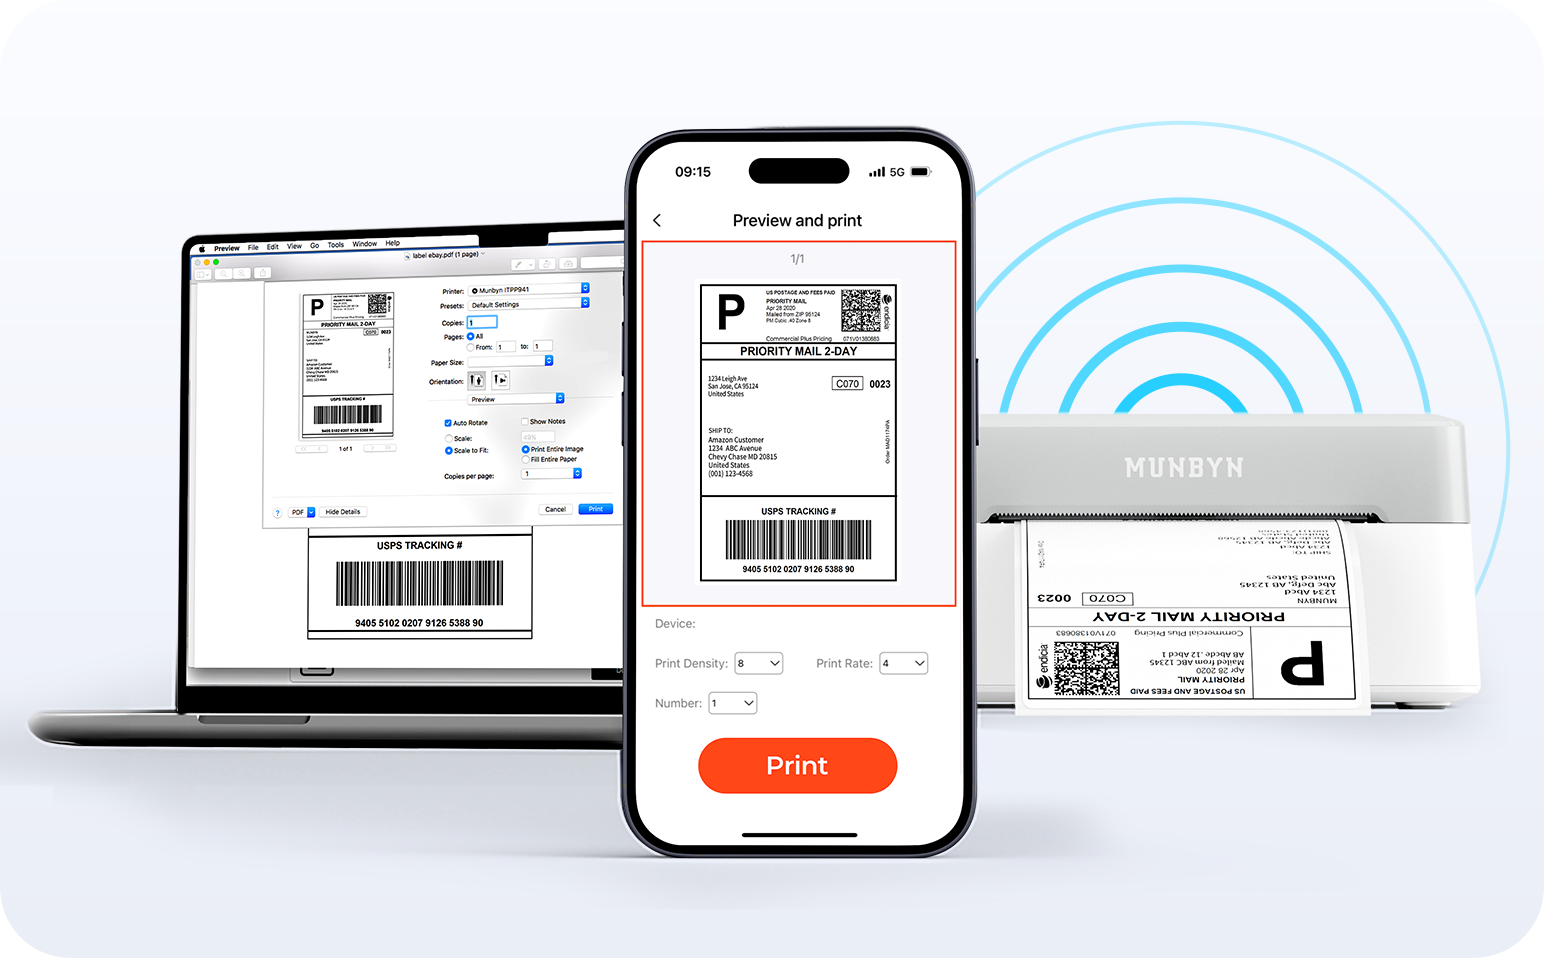
The MUNBYN RealWriter 403B Bluetooth thermal label printer delivers a truly seamless experience. Connect effortlessly via Bluetooth to any desktop—no drivers needed—and enjoy instant compatibility with major platforms like FedEx, UPS, Amazon, and Shopify. Mobile users can download the "Munbyn Print" app and start printing within minutes. Every purchase includes our industry-leading 24-month warranty and dedicated technical support—twice the industry standard—for unmatched peace of mind.
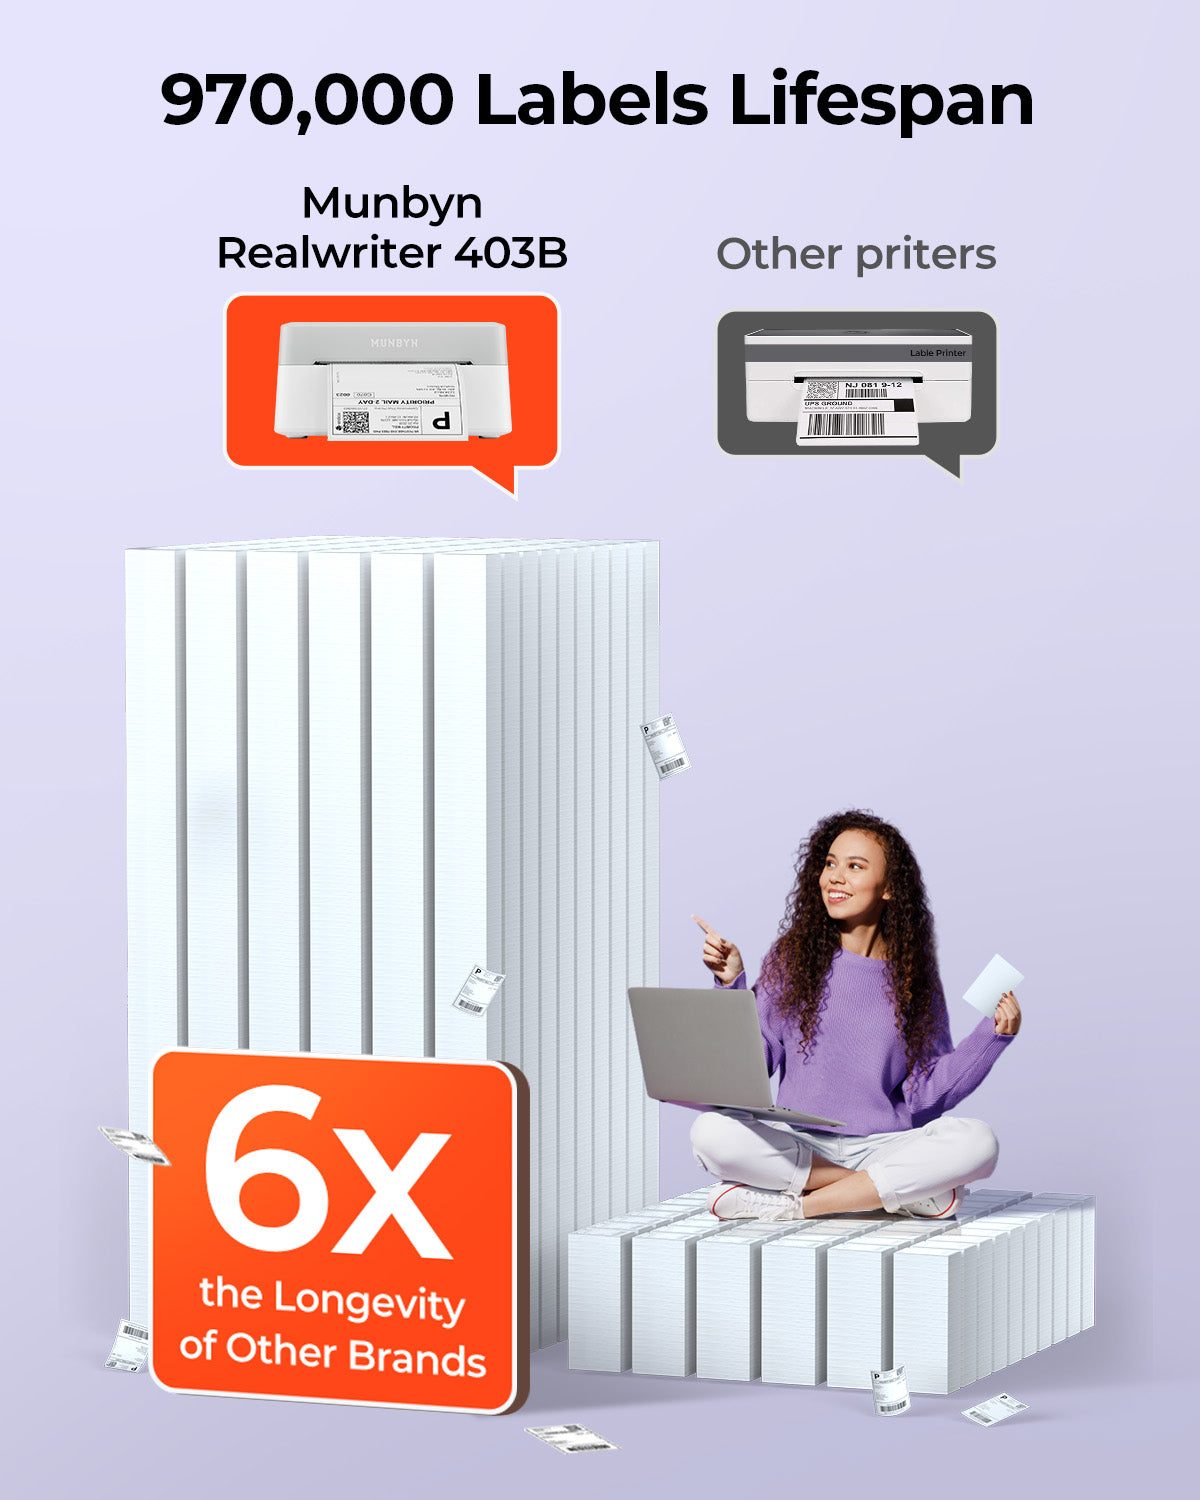
[Save Time and Money with Unmatched Durability]
More than just a printer, the RealWriter 403B Bluetooth thermal printer is a long-term investment. Engineered for extreme reliability, it delivers a remarkable lifespan of up to 970,000 labels—six times that of conventional printers. With a near-zero jam rate (<0.01%), you’ll experience minimal downtime, virtually no wasted labels, and significantly lower operating costs over time.
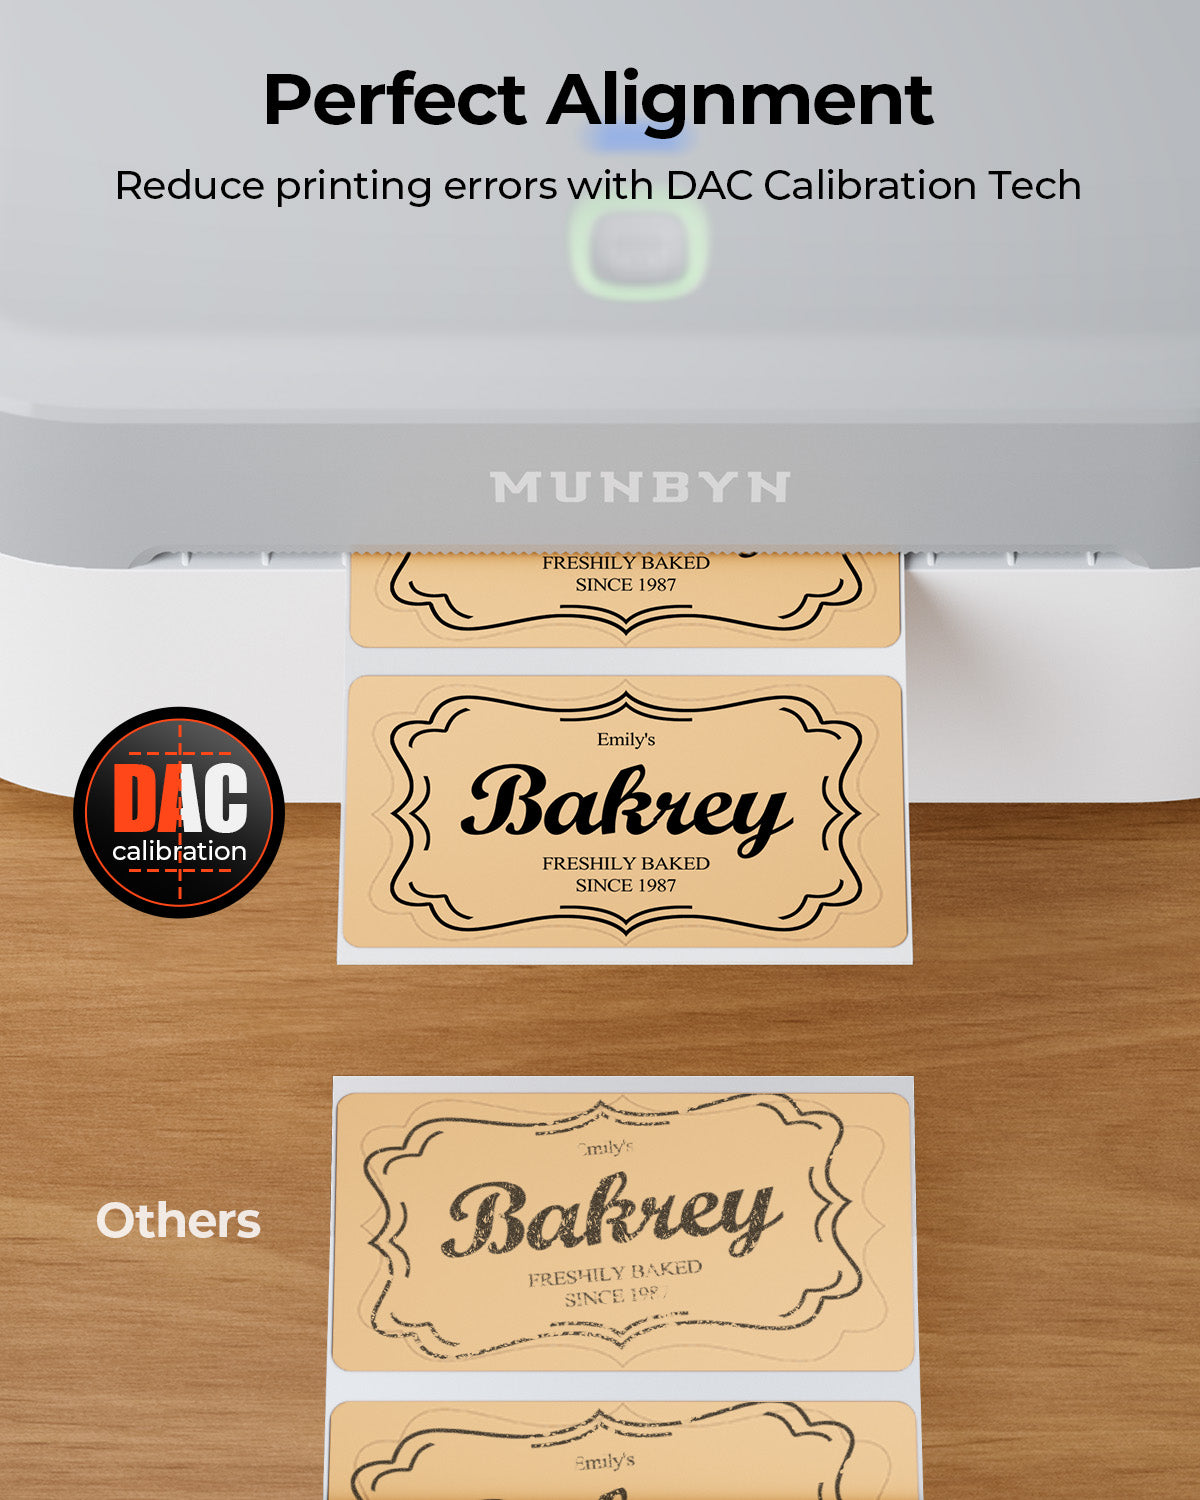
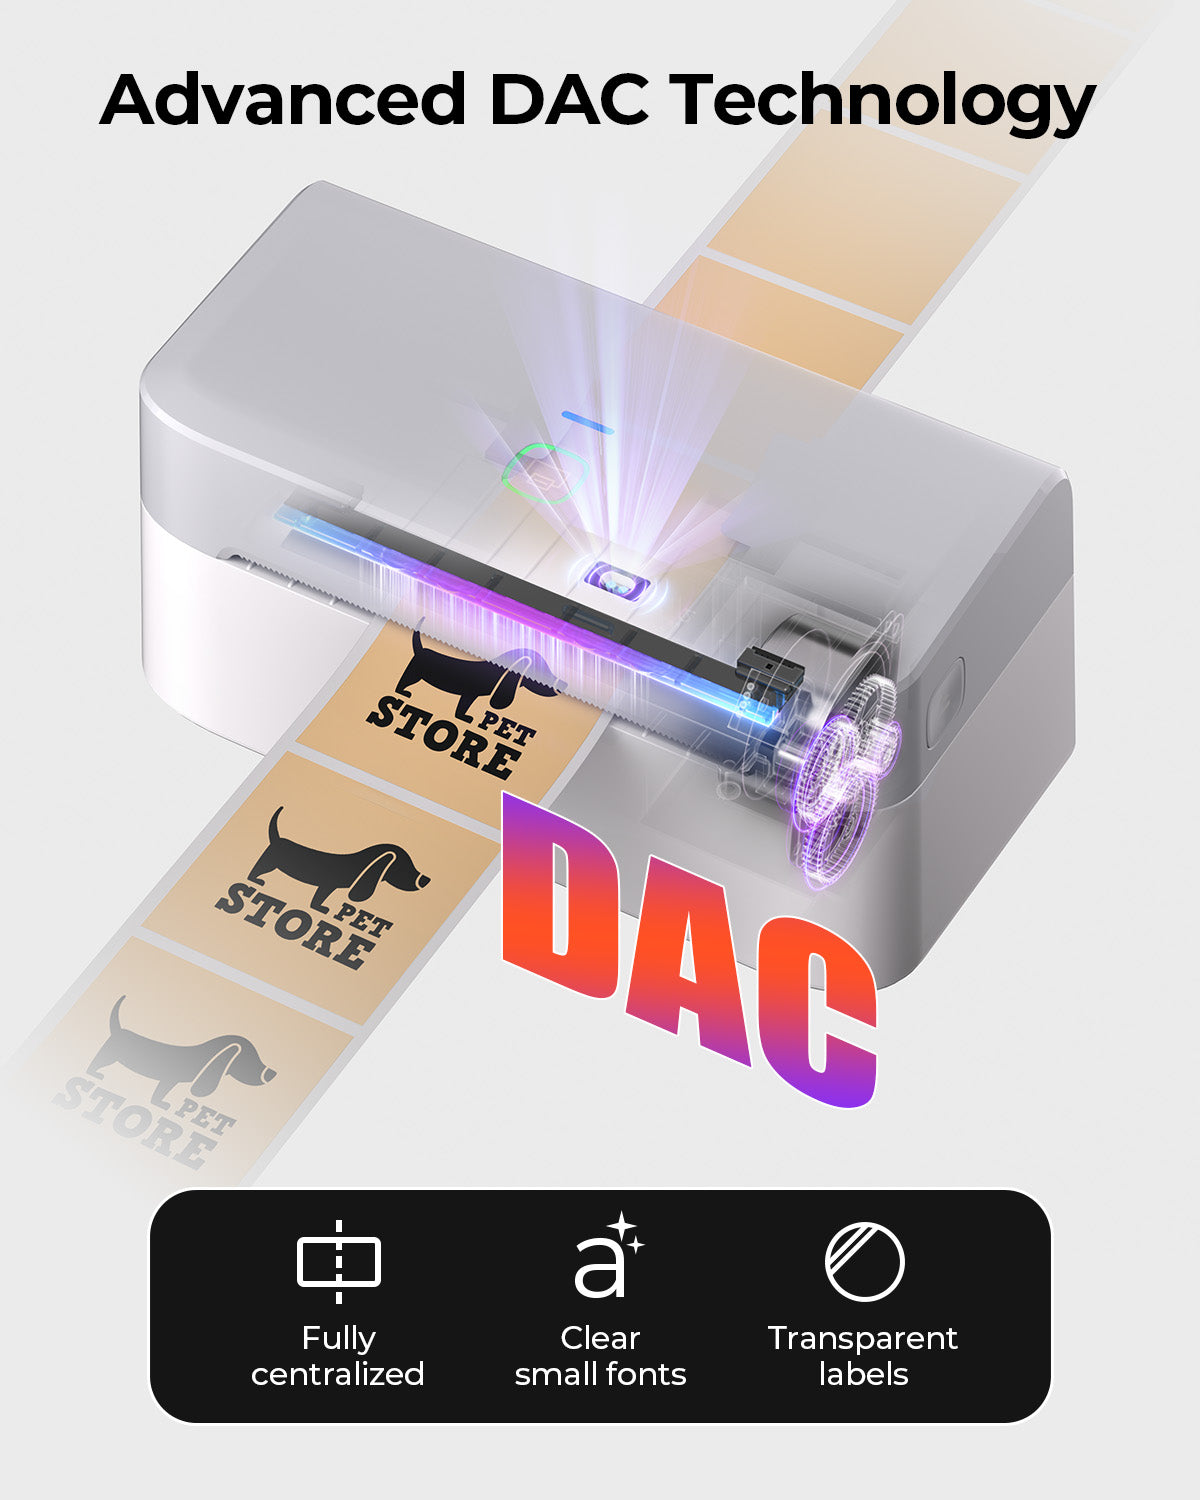
[Precision Printing with Dynamic Auto-Calibration (DAC)]
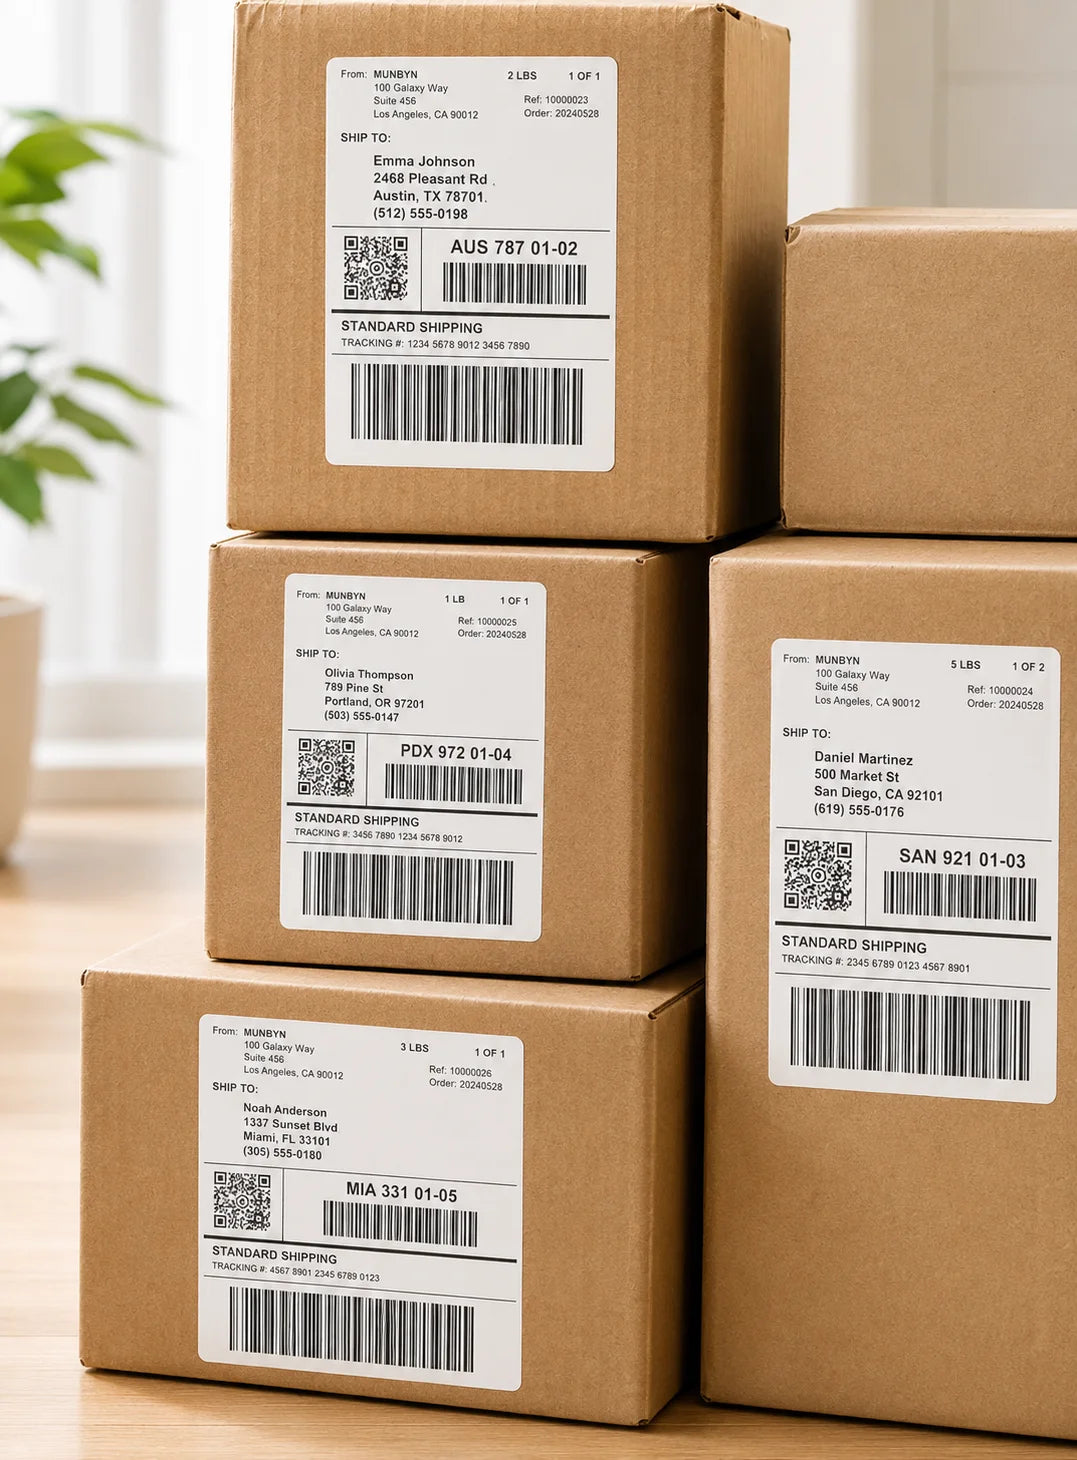
Say goodbye to misaligned or skewed labels. The RealWriter 403B shipping label printer is the first thermal printer equipped with a 4-inch DAC chip, which intelligently auto-calibrates to prevent 99.8% of alignment errors. The result? Military-grade accuracy and flawlessly crisp shipping and packaging labels—every time.
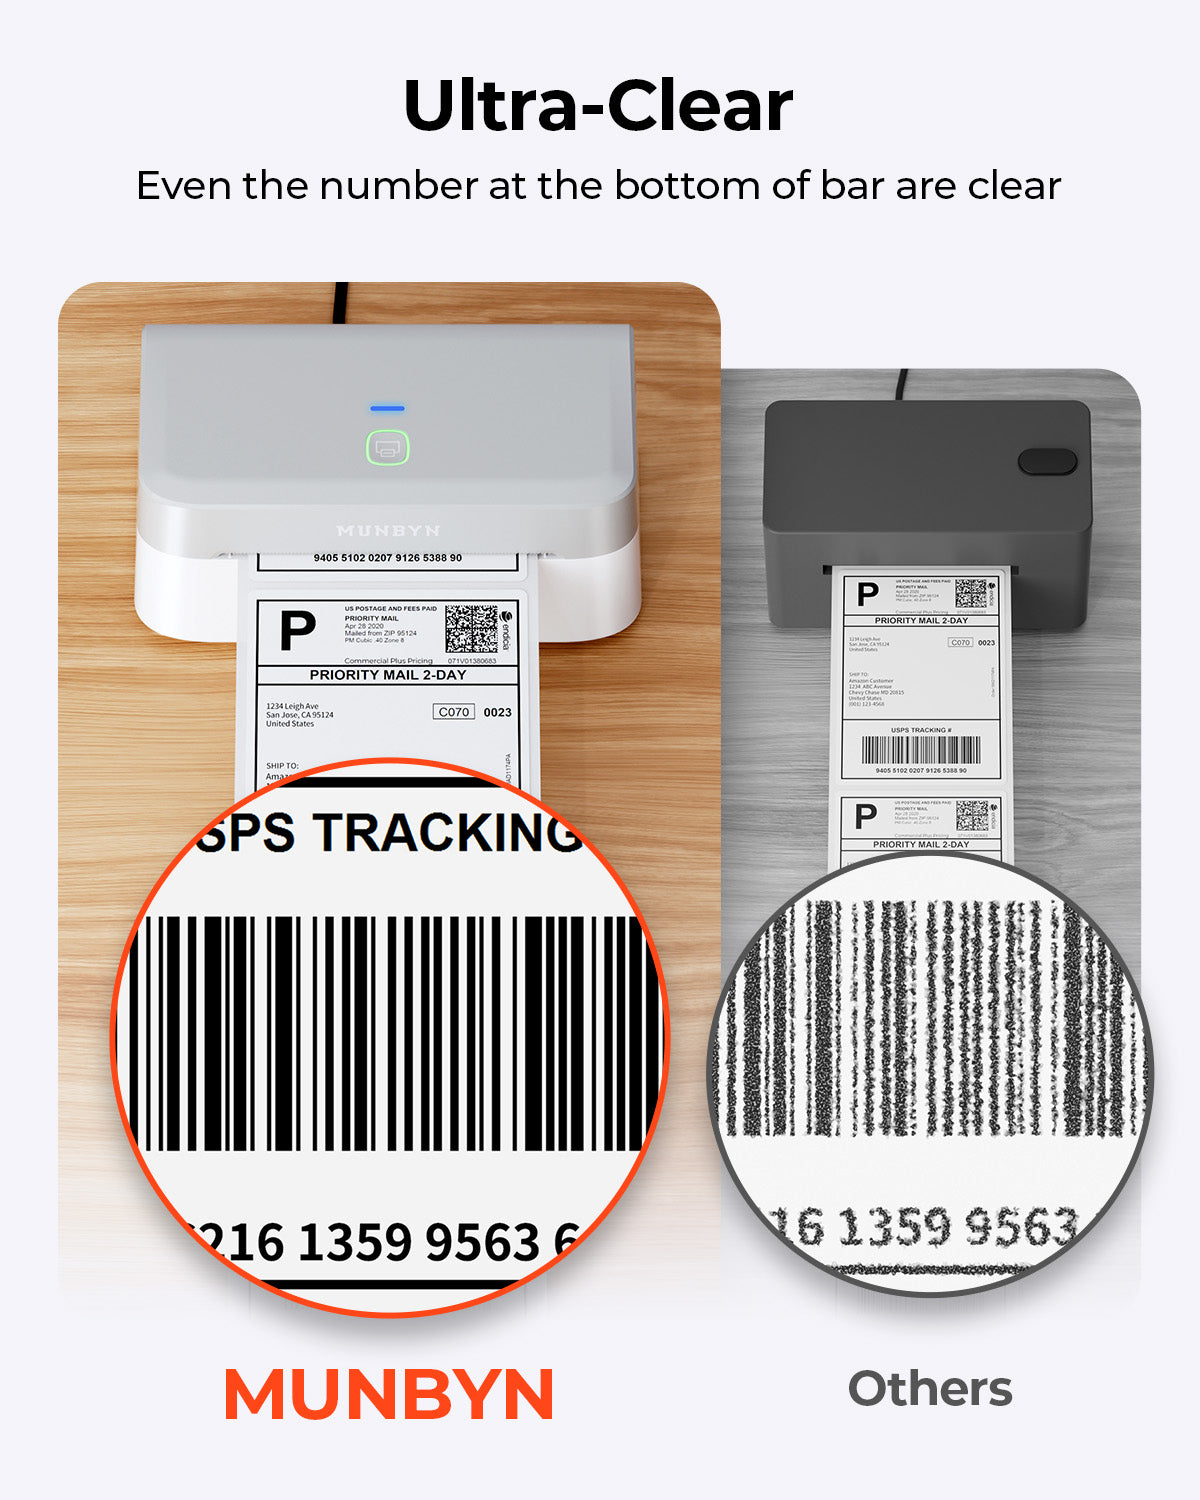
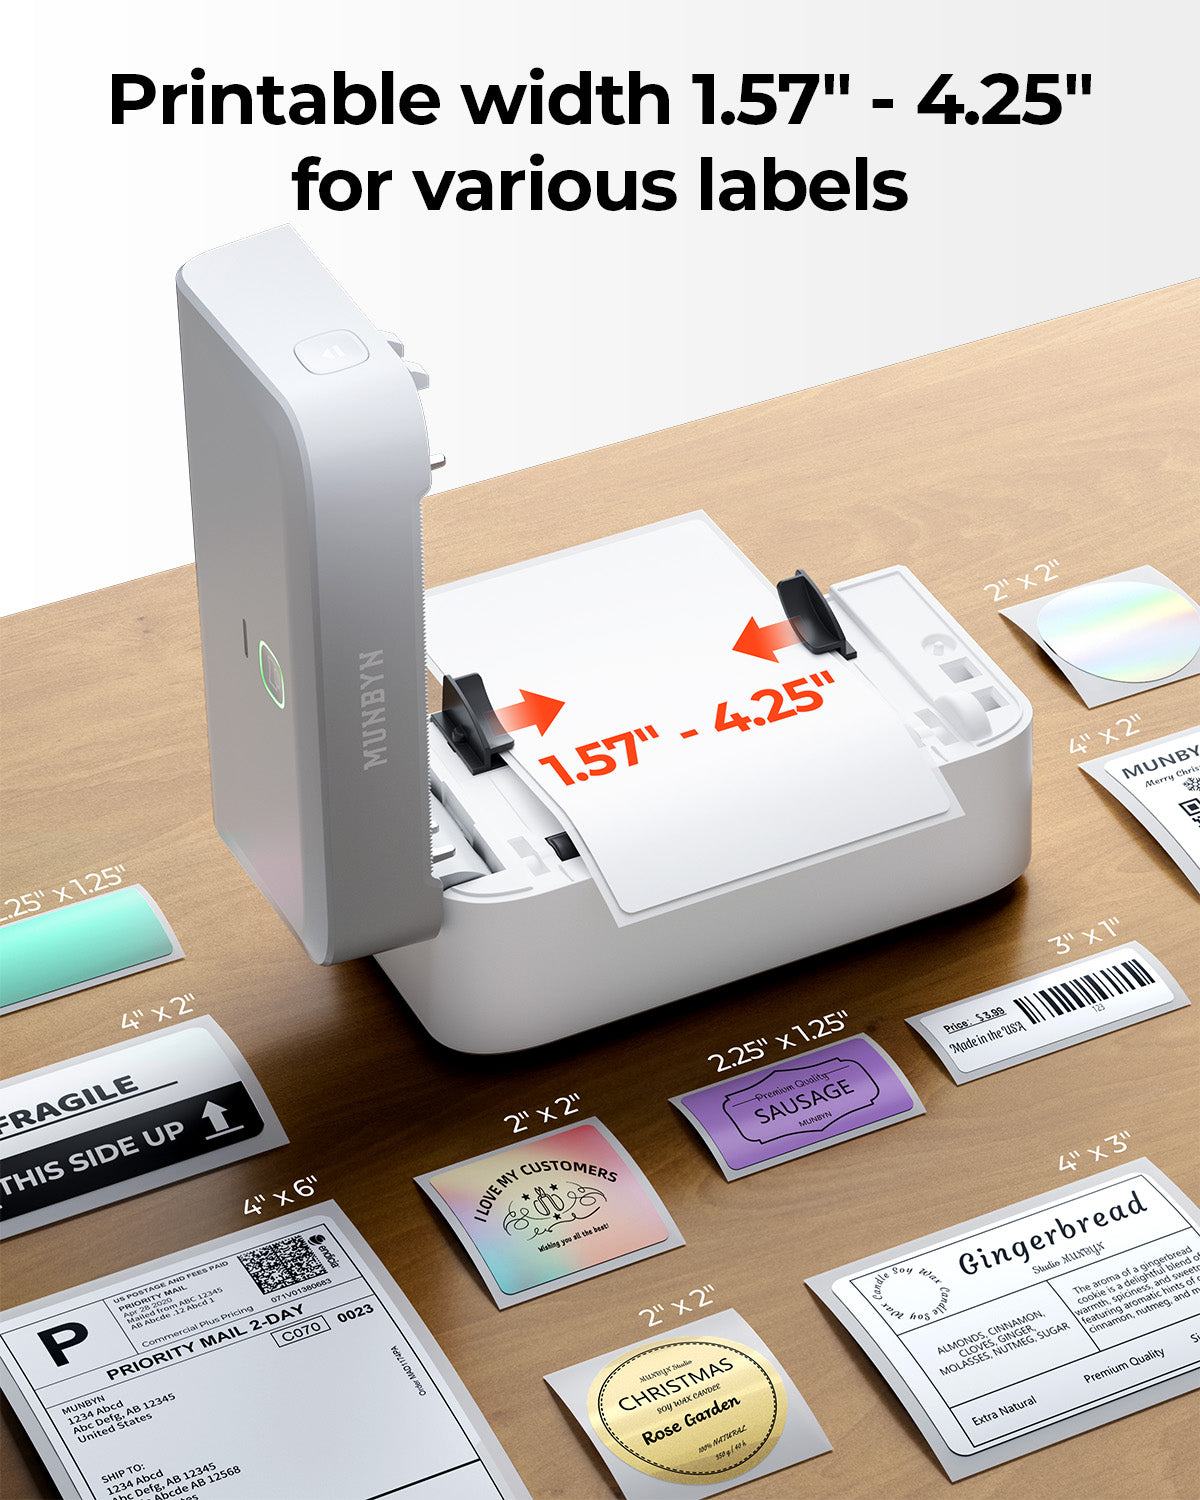
[Professional, High-Definition Output]
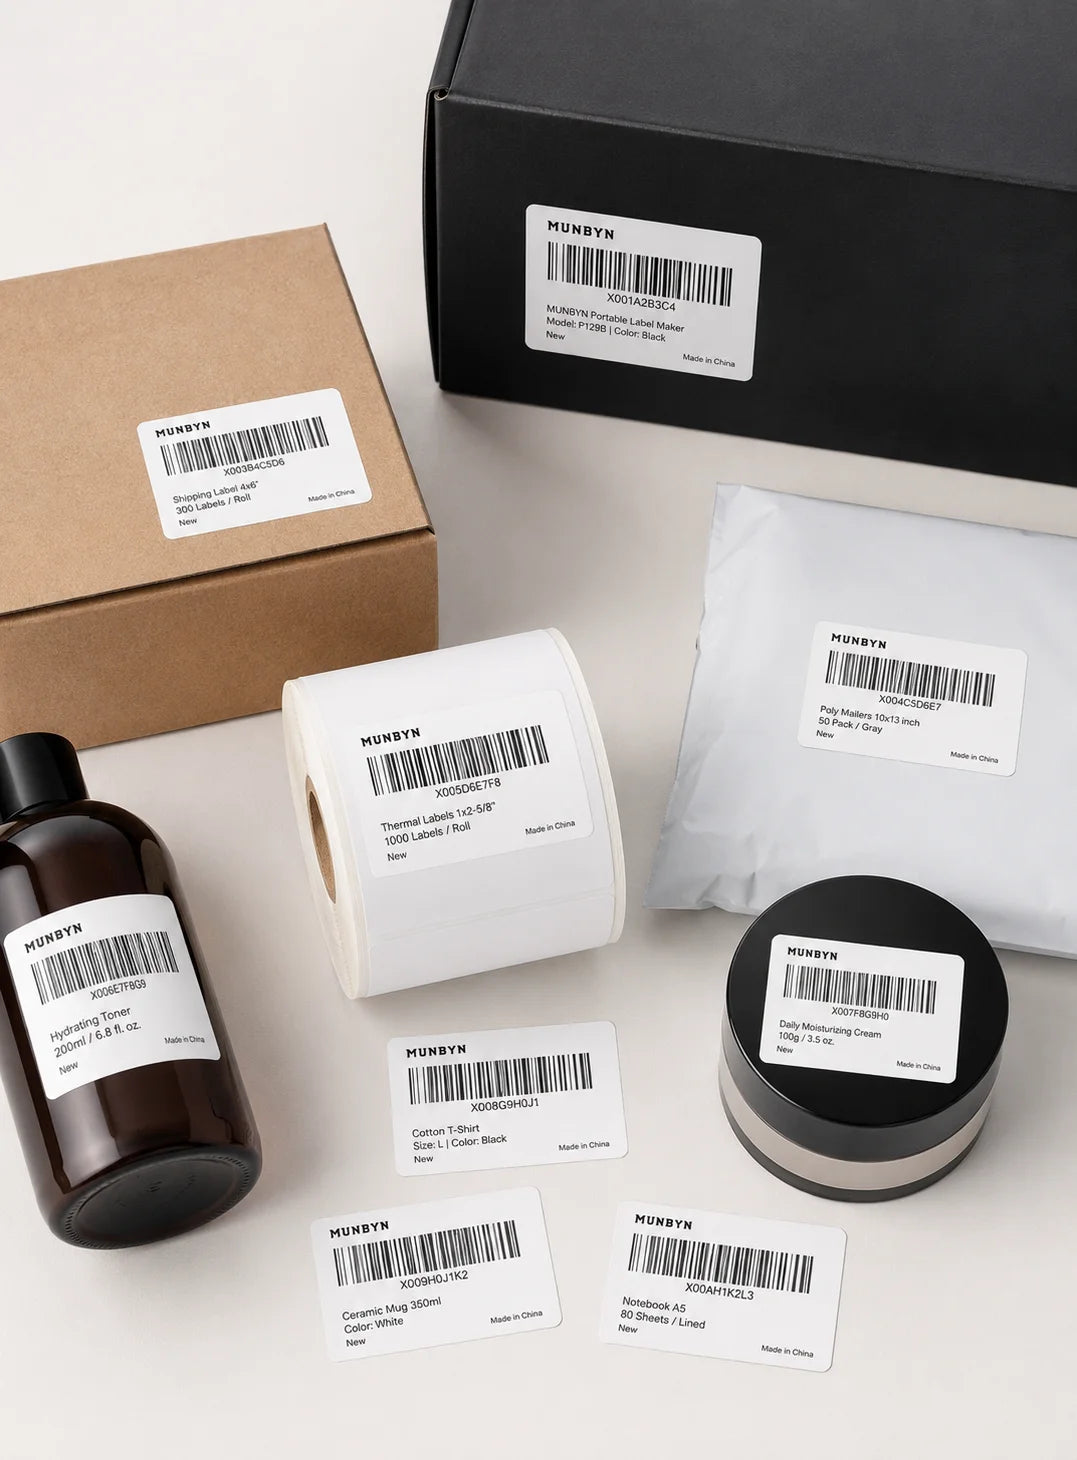
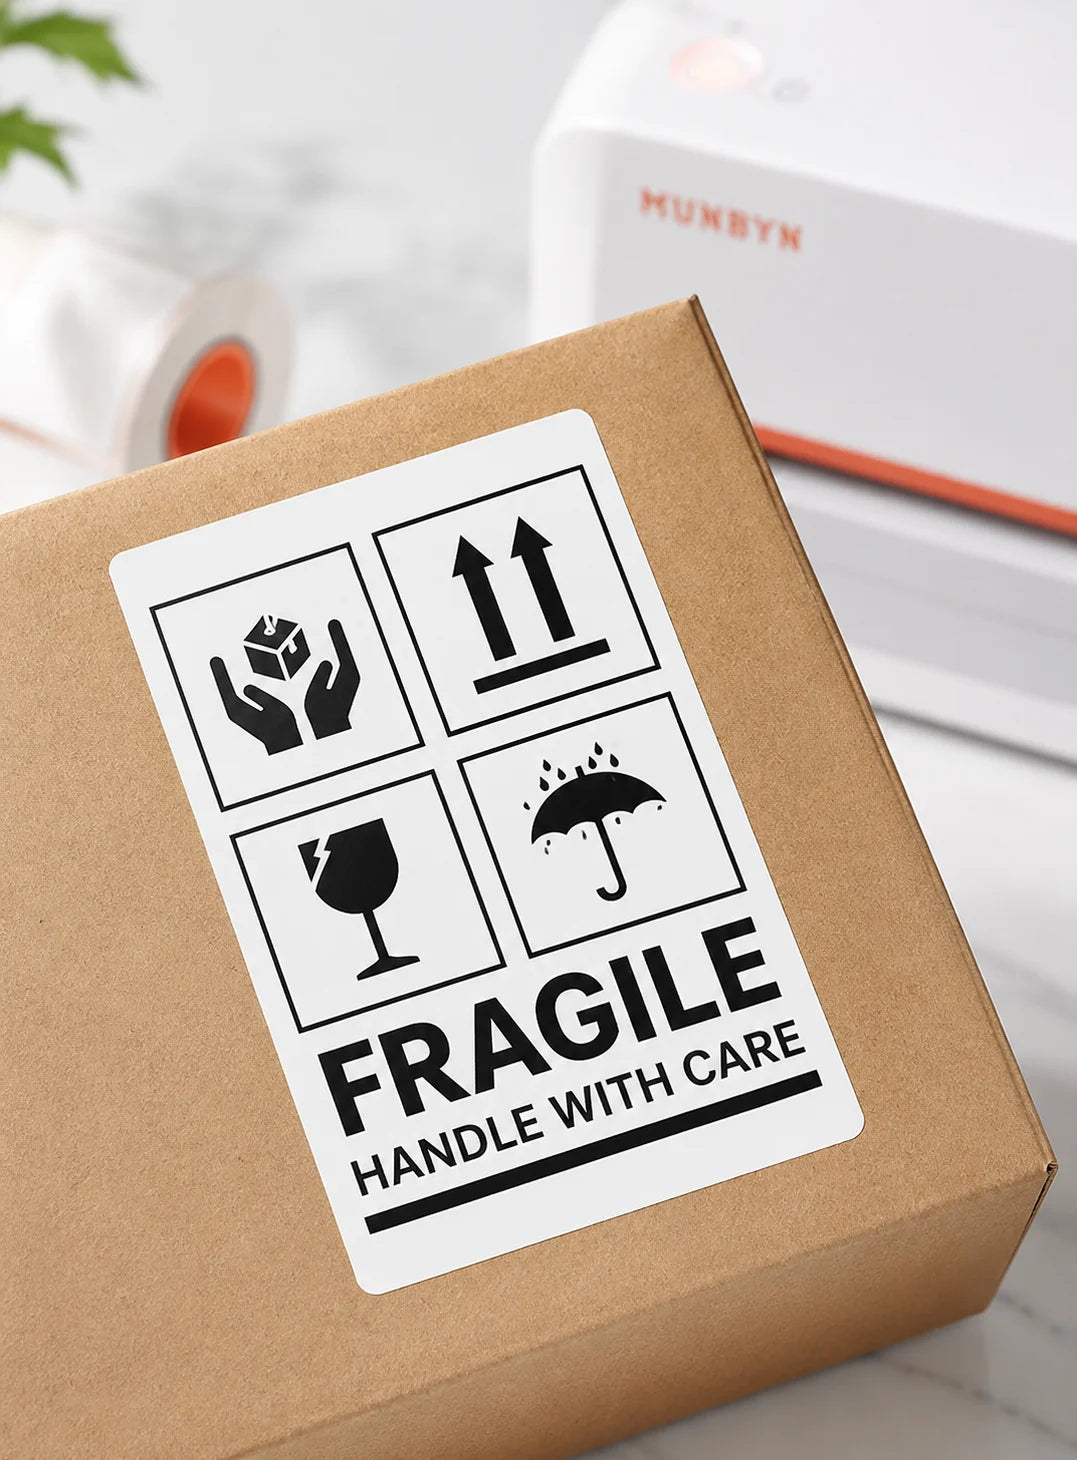
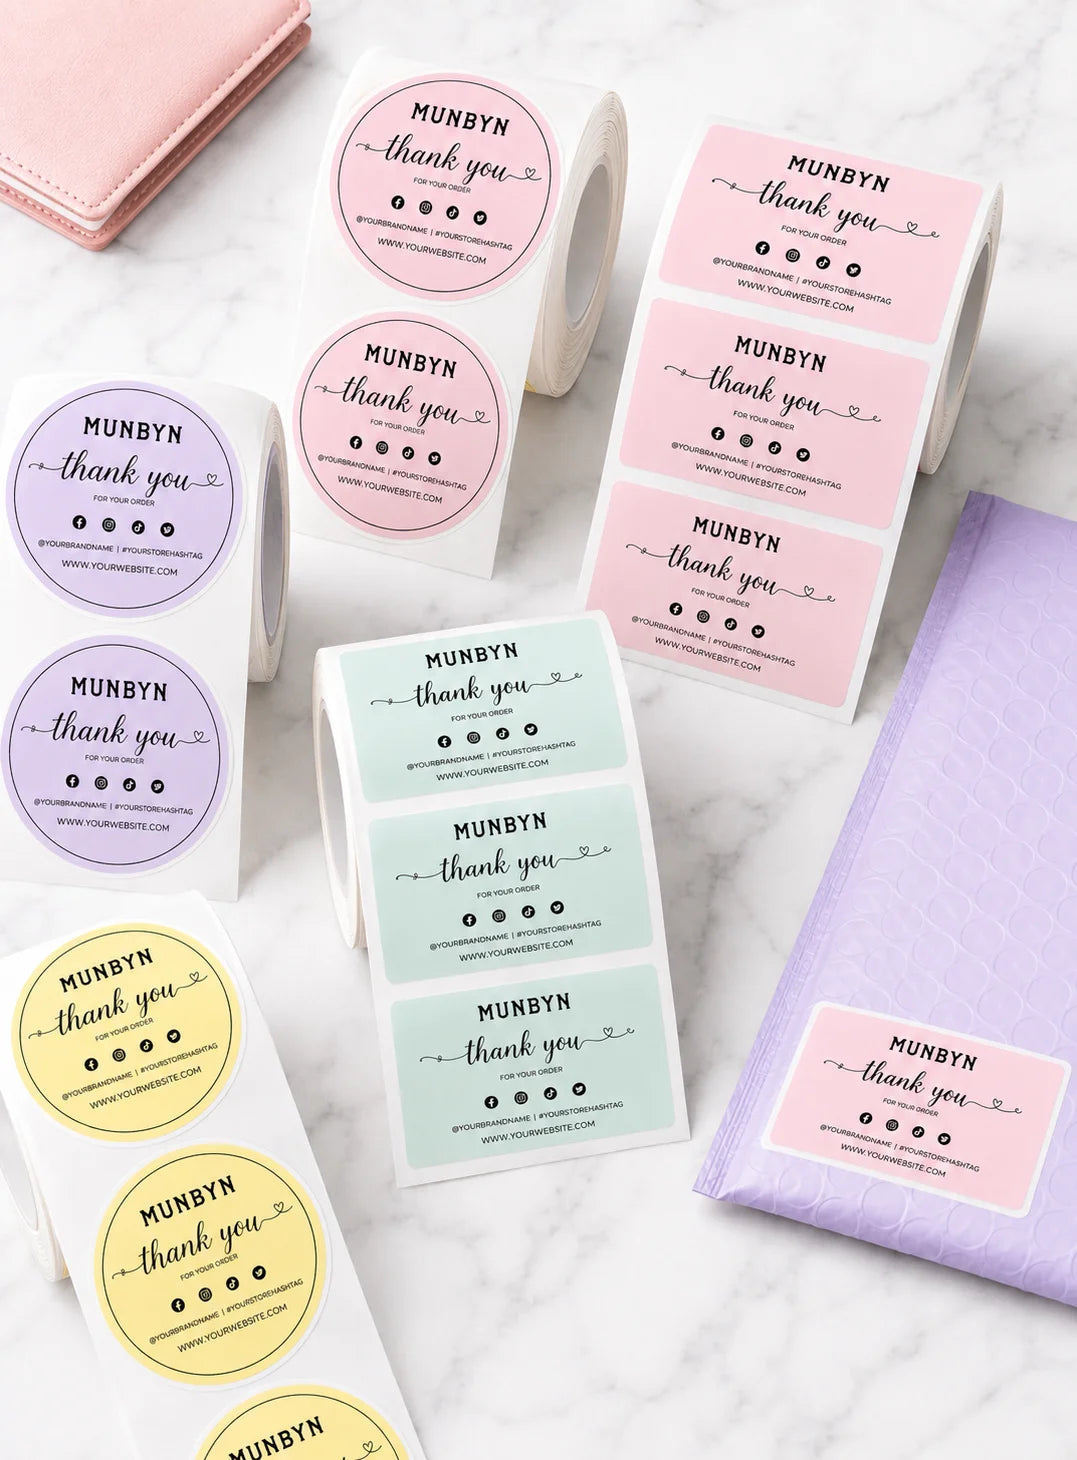
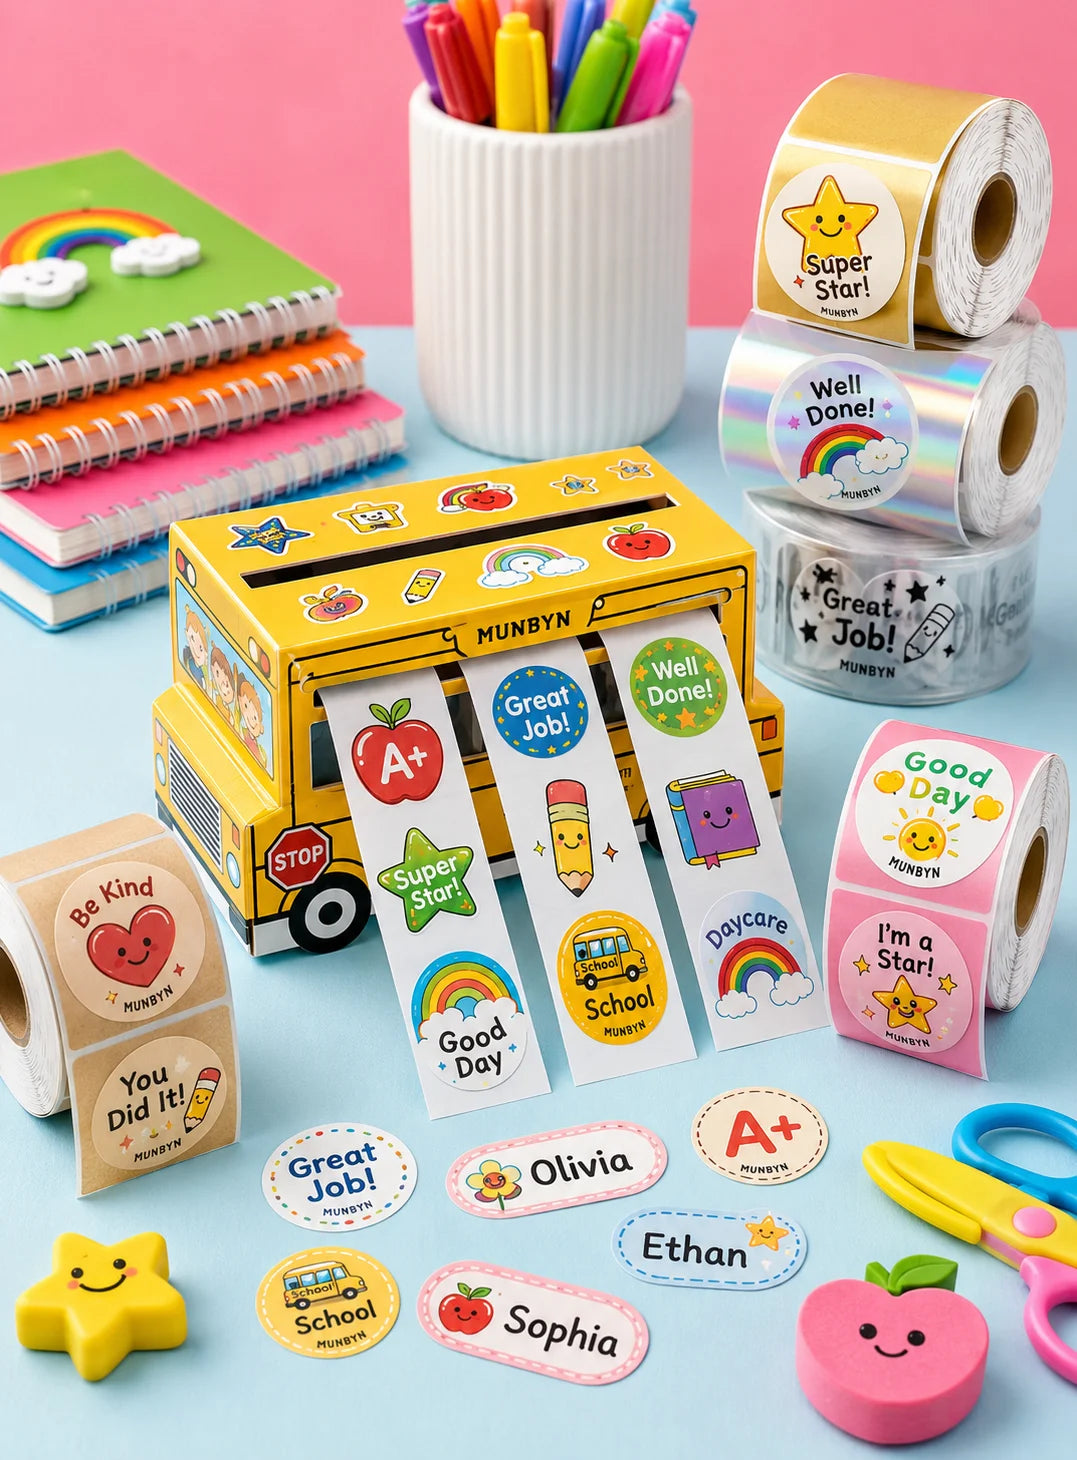
Every detail shines with crystal clarity. Designed for professional use, the RealWriter 403B Bluetooth thermal label printer guarantees 0.1 mm font precision, ensuring all text remains sharp and fully scannable. Ideal for shipping labels, return slips, inventory tags, organization stickers, and custom branding materials.
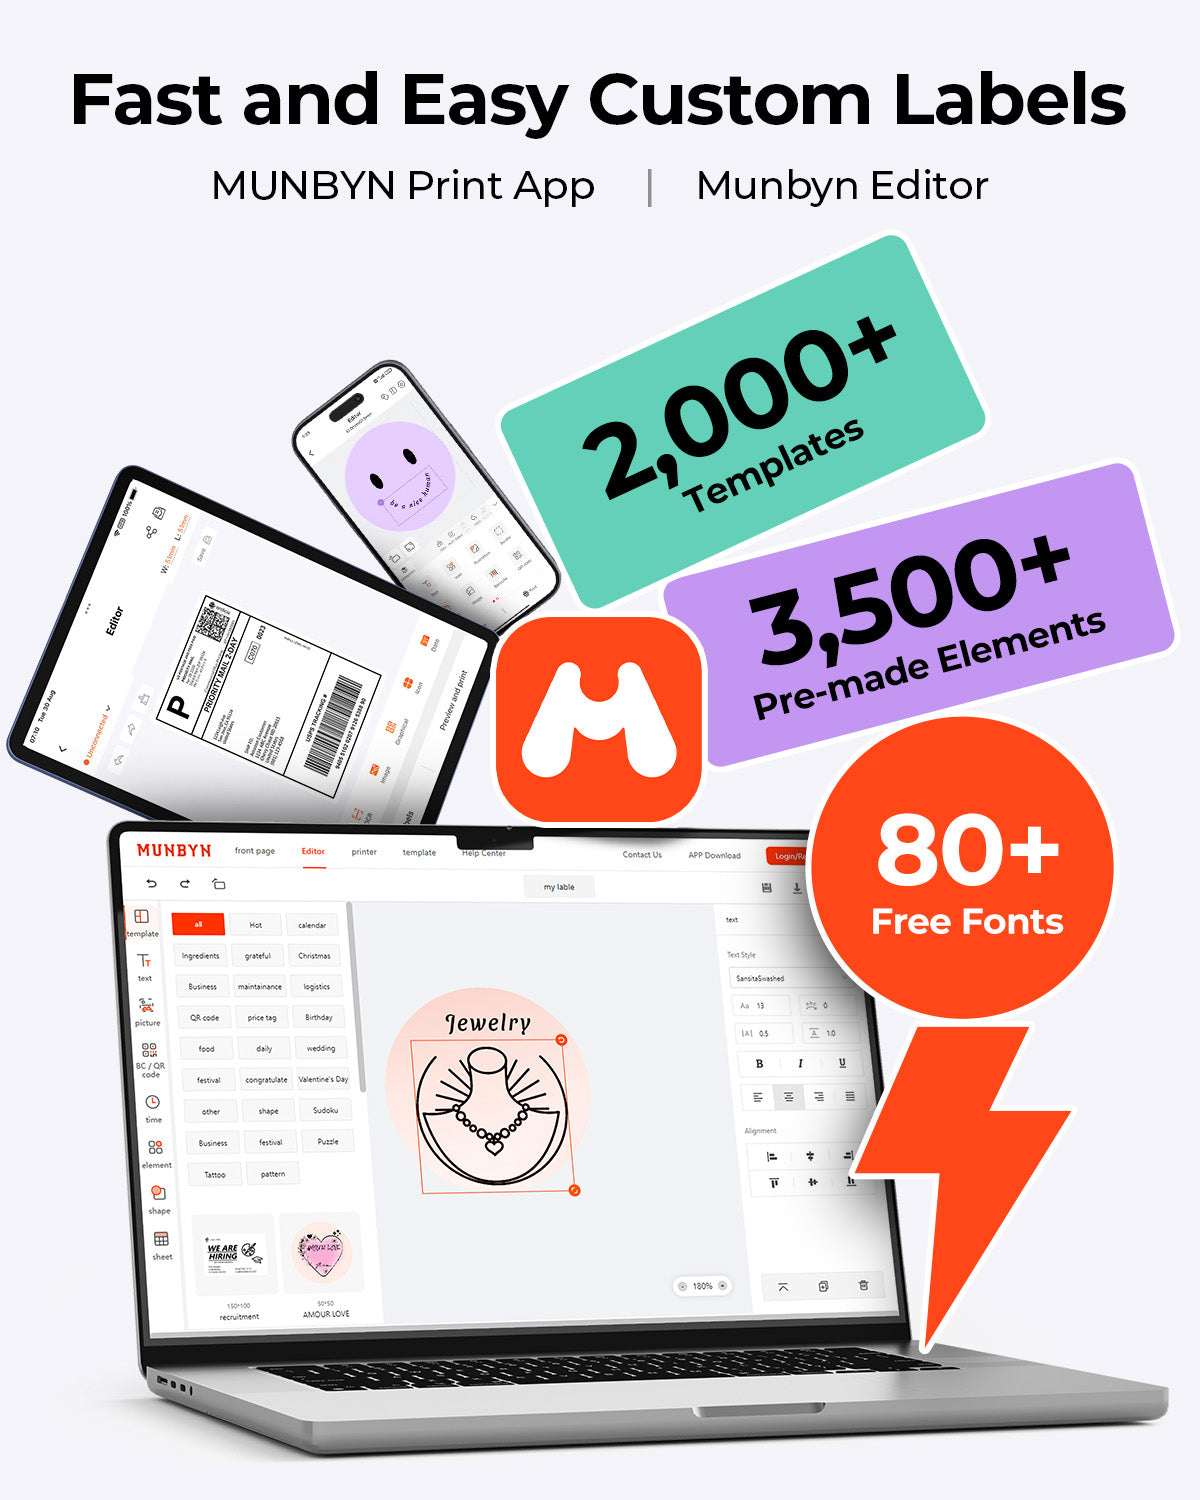
[All-in-One App for Endless Possibilities]
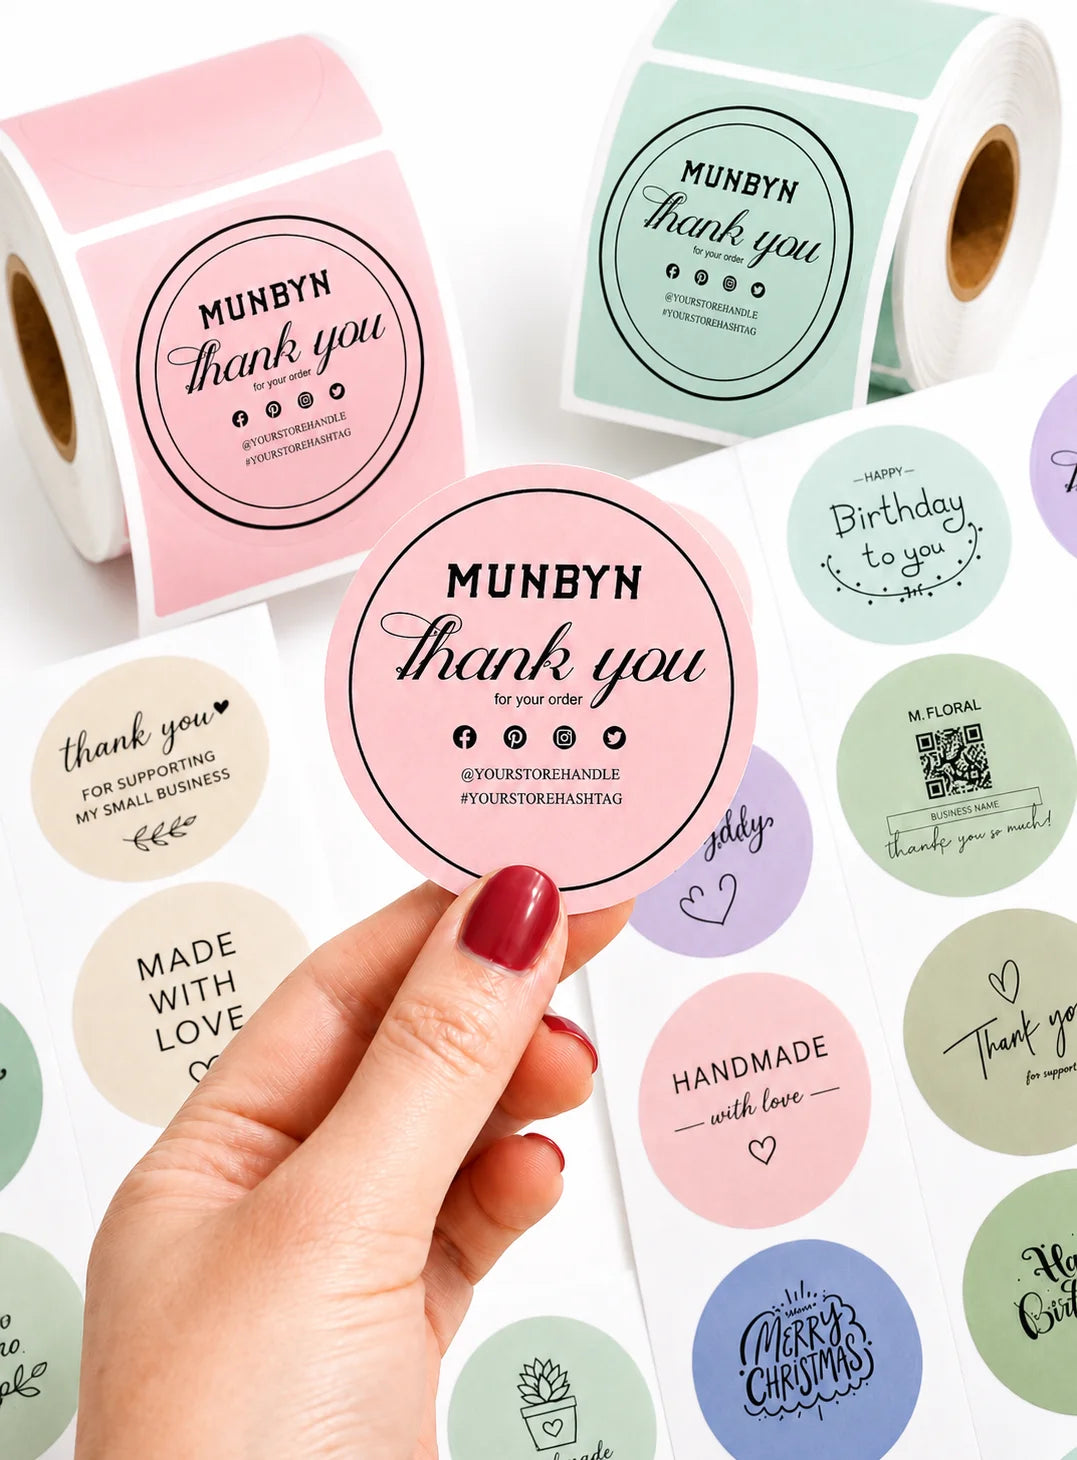
Unlock your creativity with the powerful "Munbyn Print" app (iOS/Android) and "Munbyn Editor" (Chrome). Whether you need a basic label or a sophisticated design, enjoy instant access to:
- 3,500+ design elements & 2,000+ customizable templates
- 80+ fonts, stickers, and borders
- Advanced OCR and voice recognition features
- Print effortlessly from your phone or computer. USB connectivity is also available for non-Bluetooth devices.


 Australia


 Best Seller
 All Printers
 All Thermal Labels
 Printer Accessories